I am sure many of you struggle with this. Procrastinating is terrible, because if you are like me, you will even procrastinate on trying to stop procrastinating. Ugh. So I have decided to really try hard this time. With college starting soon, it will not be a good idea to keep up the habit if I want to succeed. So I will do the following:
I will tell myself that I am not a procrastinator. Because if you convince yourself of something, it has the greater potential of happening, I have tried it. If I think about how I am going to be very diligent with my homework, thinking through specific things I am going to do and when I will do them, when I get home from work, then I have a higher likelihood of actually doing it.
I will find someone to hold me accountable outside of family (which will be hard anyway at college). I was trying to overcome another struggle of mine and having a friend hold me accountable actually proved to be the most successful strategy I used.
I will create a schedule. I find that for myself writing down what I need to do and when I will do it helps me to actually complete it. The feeling of crossing a task off your list is pretty great.
I'll keep you posted.
Sarah

Wednesday, August 20, 2014

Thursday, August 14, 2014
Famous Faces
I love drawing faces for some reason. They are all unique and have distinct contrast and interesting shadows. I thought I would find some pictures of famous people to copy, the more I practice the better I get at drawing conceptual faces, or so I have found.

None of the above are actually finished and I don't know if they will be finished, but I have lots more to start!
Some tips on getting realistic drawings of faces would be to draw what you see not what you think it should look like. For example, we have an idea of what an eye looks like, but all eyes are different. Another thing that I would suggest is getting a pretty detailed light sketch of the face and making sure it is right before you start shading. I sometimes struggle with this because shading is my favorite part:)
I use different pencils with different levels of hardness so that I can achieve the dark colors with soft led, and use harder led for the light sketches. Also make sure you have a good eraser to fix any errors.
Oh and another tip, make sure that you do not have sunscreen on your hand when you are drawing or one of your faces will have some beautiful yellow smudges...personal experience.
Have fun drawing!!
Sarah
Monday, August 11, 2014
Out of Boredom Came Creativity
So yes, you guessed it, I was bored -- again. But this time I didn't actually have some other important thing to do that I was avoiding...I had a 8-9 hour long bus ride to endure and I was not ready to sleep yet.
So I got out my sketchbook, and inspired by another artist (Mary Doodles), I began to doodle.
Basically I just scribbled or had someone else scribble on a blank sheet of my sketchbook, then I took that scribble and turned it into a creative drawing.
Example of "random scribbles:"


Examples of what I made from some other "random scribbles:"


Ok I think I have a tendency towards seeing and drawing unique fashion or fashionable animals in these...
I have since found this to be a great way to start drawing when you feel your ideas have been drained or when you just need something to do.
Have fun this week and be creative! Everyone is, just in different ways:)
Sarah
So I got out my sketchbook, and inspired by another artist (Mary Doodles), I began to doodle.
Basically I just scribbled or had someone else scribble on a blank sheet of my sketchbook, then I took that scribble and turned it into a creative drawing.
Example of "random scribbles:"
Examples of what I made from some other "random scribbles:"
Ok I think I have a tendency towards seeing and drawing unique fashion or fashionable animals in these...
I have since found this to be a great way to start drawing when you feel your ideas have been drained or when you just need something to do.
Have fun this week and be creative! Everyone is, just in different ways:)
Sarah
Tuesday, August 5, 2014
Costa Rica...More Stories!
I am going to tell you a story about how this shy and anti risk-taking girl, me, learned to take risks and overcome the fear of trying new things.
So like I said I, up until this trip, refused to take risks. I am still terrified of the idea of change, but I have learned to work through my fear and take the risk!
I am not a swimmer, in fact I can't stay afloat for long, maybe I should take some lessons from my little brother who is a competitive swimmer:) Besides this I am not necessarily afraid of heights, but I would not say that I enjoy them. So these two things combined equals not happening! Well...I didn't let that stop me.
I knew that if I didn't jump off the rock into the bubbling water at the bottom of the waterfall (no worries it was not that far and we had chaperones that would not let us do anything too risky) I might regret it, but I might not. What I learned though is if I wanted to do it I needed to jump in the moment and not let myself think about it. So I jumped! Yes! I did it!
My next opportunity to take a risk was towards the end of our trip when we had the opportunity to go tubing. When I heard we doing this, there was no way I was going to go. Jumping off a rock into water that wasn't going anywhere was one thing, but tubing down a river full of rapids, rocks, and trees hanging over it was quite another. In my mind it looked like a sure way for me to bash my head against a rock or drown.
Well this time I was lovingly forced to go. Some of the college students on the trip said they would make sure that I came out on the other end just fine. I went, and I actually enjoyed it! (I have never done tubing of any sort before). At the end of the section of river we were on was a small cliff, that was higher than the rock I jumped off before. I was hesitant at first because I knew I could not swim well, but they made sure I would have a tube. I jumped. And no I have never screamed in public like that:)
I loved the exhilaration I received from taking risks and I am now less afraid of change and doing new and different things! I will continue telling stories from Costa Rica over the next couple weeks so stay tuned!
Go conquer some fears. The only way to get rid of a fear is to conquer it, and the only way to conquer fear is to face it head on like I did.
Sarah
So like I said I, up until this trip, refused to take risks. I am still terrified of the idea of change, but I have learned to work through my fear and take the risk!
I am not a swimmer, in fact I can't stay afloat for long, maybe I should take some lessons from my little brother who is a competitive swimmer:) Besides this I am not necessarily afraid of heights, but I would not say that I enjoy them. So these two things combined equals not happening! Well...I didn't let that stop me.
I knew that if I didn't jump off the rock into the bubbling water at the bottom of the waterfall (no worries it was not that far and we had chaperones that would not let us do anything too risky) I might regret it, but I might not. What I learned though is if I wanted to do it I needed to jump in the moment and not let myself think about it. So I jumped! Yes! I did it!
My next opportunity to take a risk was towards the end of our trip when we had the opportunity to go tubing. When I heard we doing this, there was no way I was going to go. Jumping off a rock into water that wasn't going anywhere was one thing, but tubing down a river full of rapids, rocks, and trees hanging over it was quite another. In my mind it looked like a sure way for me to bash my head against a rock or drown.
Well this time I was lovingly forced to go. Some of the college students on the trip said they would make sure that I came out on the other end just fine. I went, and I actually enjoyed it! (I have never done tubing of any sort before). At the end of the section of river we were on was a small cliff, that was higher than the rock I jumped off before. I was hesitant at first because I knew I could not swim well, but they made sure I would have a tube. I jumped. And no I have never screamed in public like that:)
I loved the exhilaration I received from taking risks and I am now less afraid of change and doing new and different things! I will continue telling stories from Costa Rica over the next couple weeks so stay tuned!
Go conquer some fears. The only way to get rid of a fear is to conquer it, and the only way to conquer fear is to face it head on like I did.
Sarah
Saturday, July 26, 2014
Costa Rica!
So I went on a trip this summer. I went to Costa Rica on a mission trip. It was a great experience! It was hot and humid and buggy and muddy and sunny and rainy and cold and windy and wonderful! I will post a few stories of the things that happened.
I absolutely loved getting to know the little children while making crafts and speaking in my broken Spanish with them. I think they loved it too. This was the first church we went to:

There was one boy around the age of 11 I met at our first place of ministry, a suburb of San Jose called Desamparados, who I immediately noticed had artistic gifting. Myself being an artist I wanted to talk to him and encourage him in his obvious gift. When I did get the chance to talk to him I told him that I thought he was really good at art and asked if he would continue it when he grew up. He replied with no, but said that he wanted to be a veterinarian.
In his city the poverty is pretty evident and we could see and were told that many people were making bad choices there. I am glad that he was able to be reached by the church we were working with and that if he was not already a Christian a seed was planted and he will stay with God and grow up to become a veterinarian or whatever it is that God has planned for him!
Stay tuned for more stories about the people I met and the crazy things we did!
Sarah
I absolutely loved getting to know the little children while making crafts and speaking in my broken Spanish with them. I think they loved it too. This was the first church we went to:
In his city the poverty is pretty evident and we could see and were told that many people were making bad choices there. I am glad that he was able to be reached by the church we were working with and that if he was not already a Christian a seed was planted and he will stay with God and grow up to become a veterinarian or whatever it is that God has planned for him!
Stay tuned for more stories about the people I met and the crazy things we did!
Sarah
Monday, June 23, 2014
DIY Furniture Makeover

Hello friends!
I have always loved fixing up furniture when I get the chance. This summer I have a little more time on my hands and so I have been doing it more in hopes of having a sale toward the end of the summer. So far I have more or less completed two simple chairs.
Here is the product and the steps I used to get there. Disclaimer: I am all about saving and using supplies I already have. So if you are that type of person I hope this is helpful for you! Also, I mainly work with wood furniture because my forte is painting.
Here are the two finished chairs (I may add more to the second one):

Here is the before look and the after look for the first chair.

Step #1: Sand down the surface to get rid of any finish that is on it. The shiny surface that finish creates is not ideal for painting on because the paint will not stick as well. You do not need to be over zealous about the sanding, just a good rubbing over the entire thing. This is the sandpaper I used.

Step #2: Wipe down with a slightly damp rag. You do not want the paint you apply to get mixed with any dust left on the chair from sanding it.
Step #3: Create your new "finish." For these chairs I wanted to create a darker "finish" than what was originally there. I do not have stain in the colors I would like so I used paint. I wanted a sort of black, mahogany color, so I mixed a little blue and red with a larger amount of black. Then I added water to make it much thinner. Do not add too much water though, or it will result in the top left picture below.

Step #4: Come up with a design. A couple of tips: Come up with a final design (if you are using one) before you begin to paint. This may include drawing it out in detail to make sure it will look good. Don't cheat and go too quickly. I did this with the first chair I painted (checkered pattern) and I was not happy with the results. You can see that my yellow paint was not too thick, so I would suggest if you are using a lighter color with less pigment to put on two coats. I got the stencil for my second chair here

Step #5: Apply a clear coat of finish on the chair to seal it. I don't think this is a mandatory step. I have painted other things with acrylic and it has not chipped anymore than it would have with finish. The only reason I mention it is if you want to have a way to make the fake stain color created look finished. I do not know much in the realm of stains and finishes so I am not sure what to use for this. I will do some research though soon.
Leave any questions or comments you have below.
Have fun DIYing your furniture!
Sarah
Thursday, June 12, 2014
I'm Back!
Hi readers...if I still have any...I am back after a long time of no posting. I was extremely busy with work and school, but now school is done and I officially have nothing to do...well you know there is always the important boring stuff.
So I have completed high school which includes Honors Art. It was a great experience, one that taught me a lot about myself and other people.
Here are some pictures to recap my honors art semester.
Arts A La Carte!


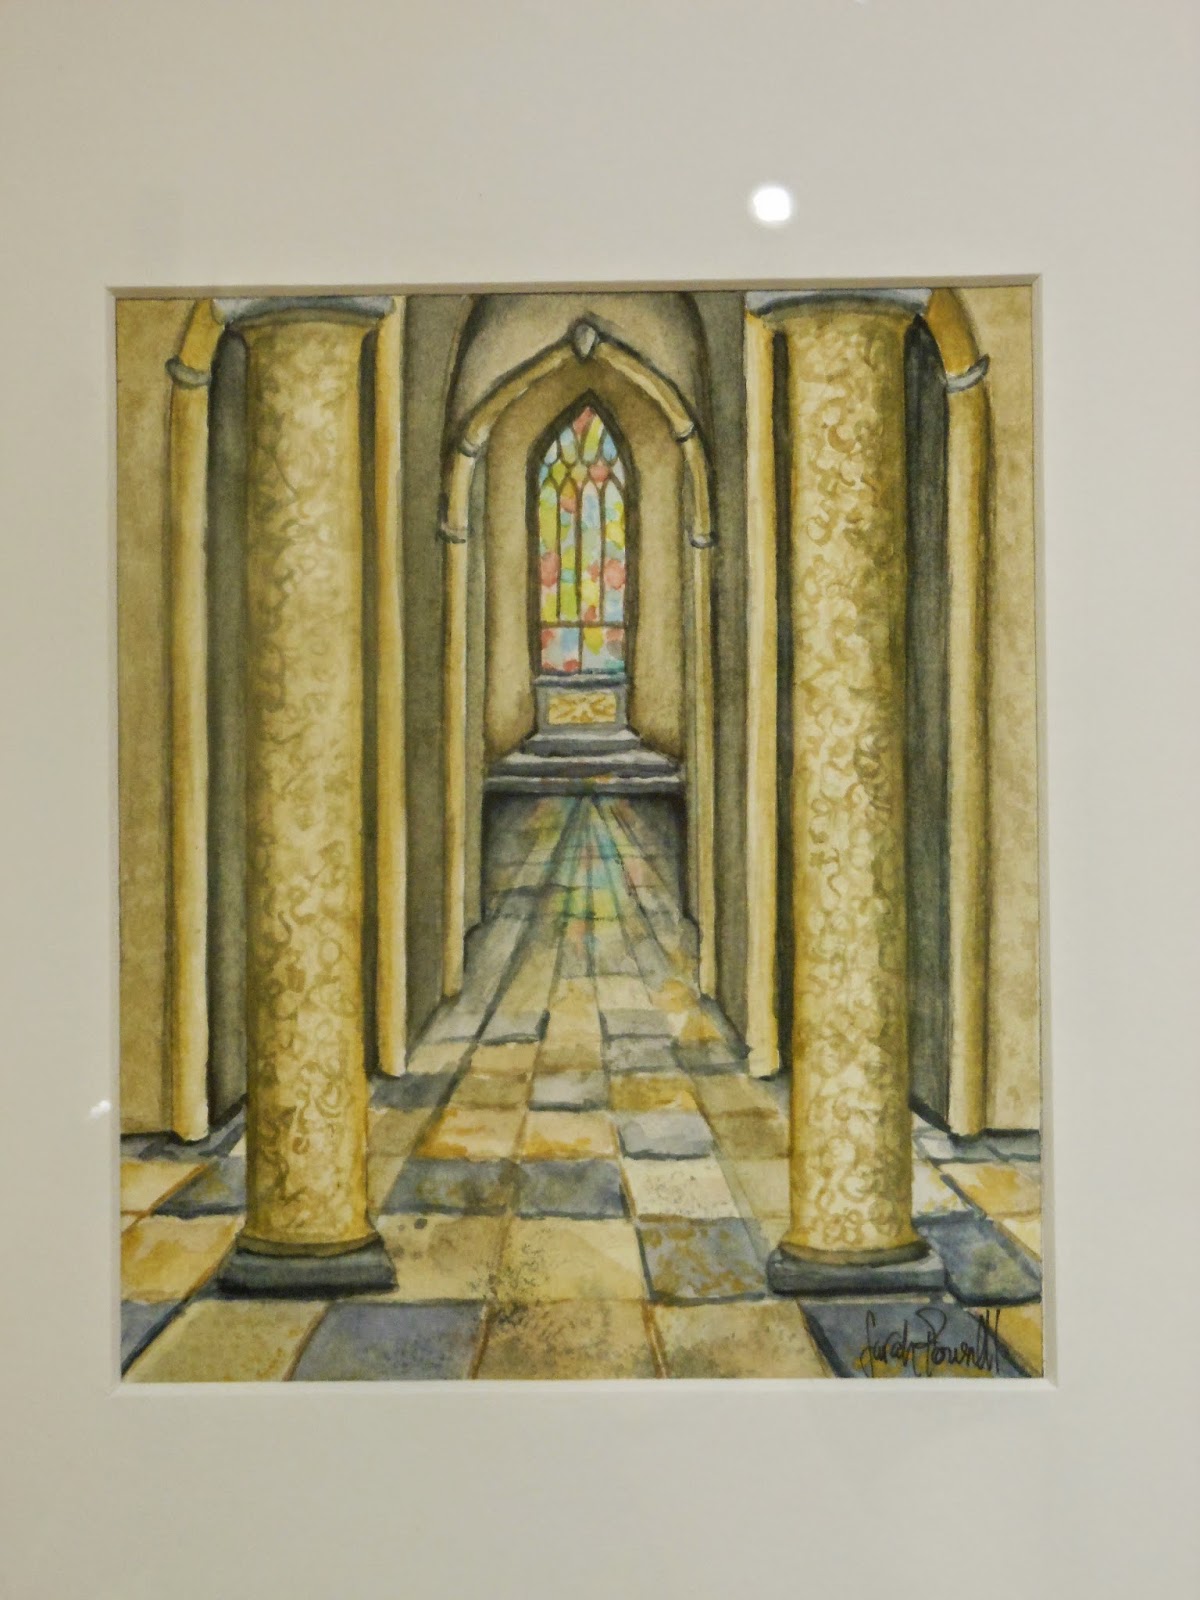

So I have completed high school which includes Honors Art. It was a great experience, one that taught me a lot about myself and other people.
Here are some pictures to recap my honors art semester.
Arts A La Carte!
Preparing in my basement.
Final product in the hallway at my school!
The Contracts! (That I did not post about, the others along with my other works are here)
Just about done with the first (possibly my favorite)
and almost half done with the second.
"Source of Light"
"Golden Light"
In the next couple days I hope to be posting pictures of all my contracts as they were in the gallery show at the end of the year. I just have to edit my photos. After that you will hopefully be seeing my projects that I am starting this summer. I will be redoing old/discarded/ugly furniture and I will keep you updated on each piece.
Have to go for now,
Be creative!!
Sarah
Subscribe to:
Posts (Atom)